From a love of notebooks, one day, I discovered the art of bookbinding and realized another thing: Instead of buying notebooks and collecting them, I could make them for myself! What a brilliant thing!
So every now and then, I experiment and try my luck with scrap paper and cheap notepads. Sometimes I have total disasters that I have to throw, sometimes I land up with something that just maybe is usable and sometimes, I have a success!
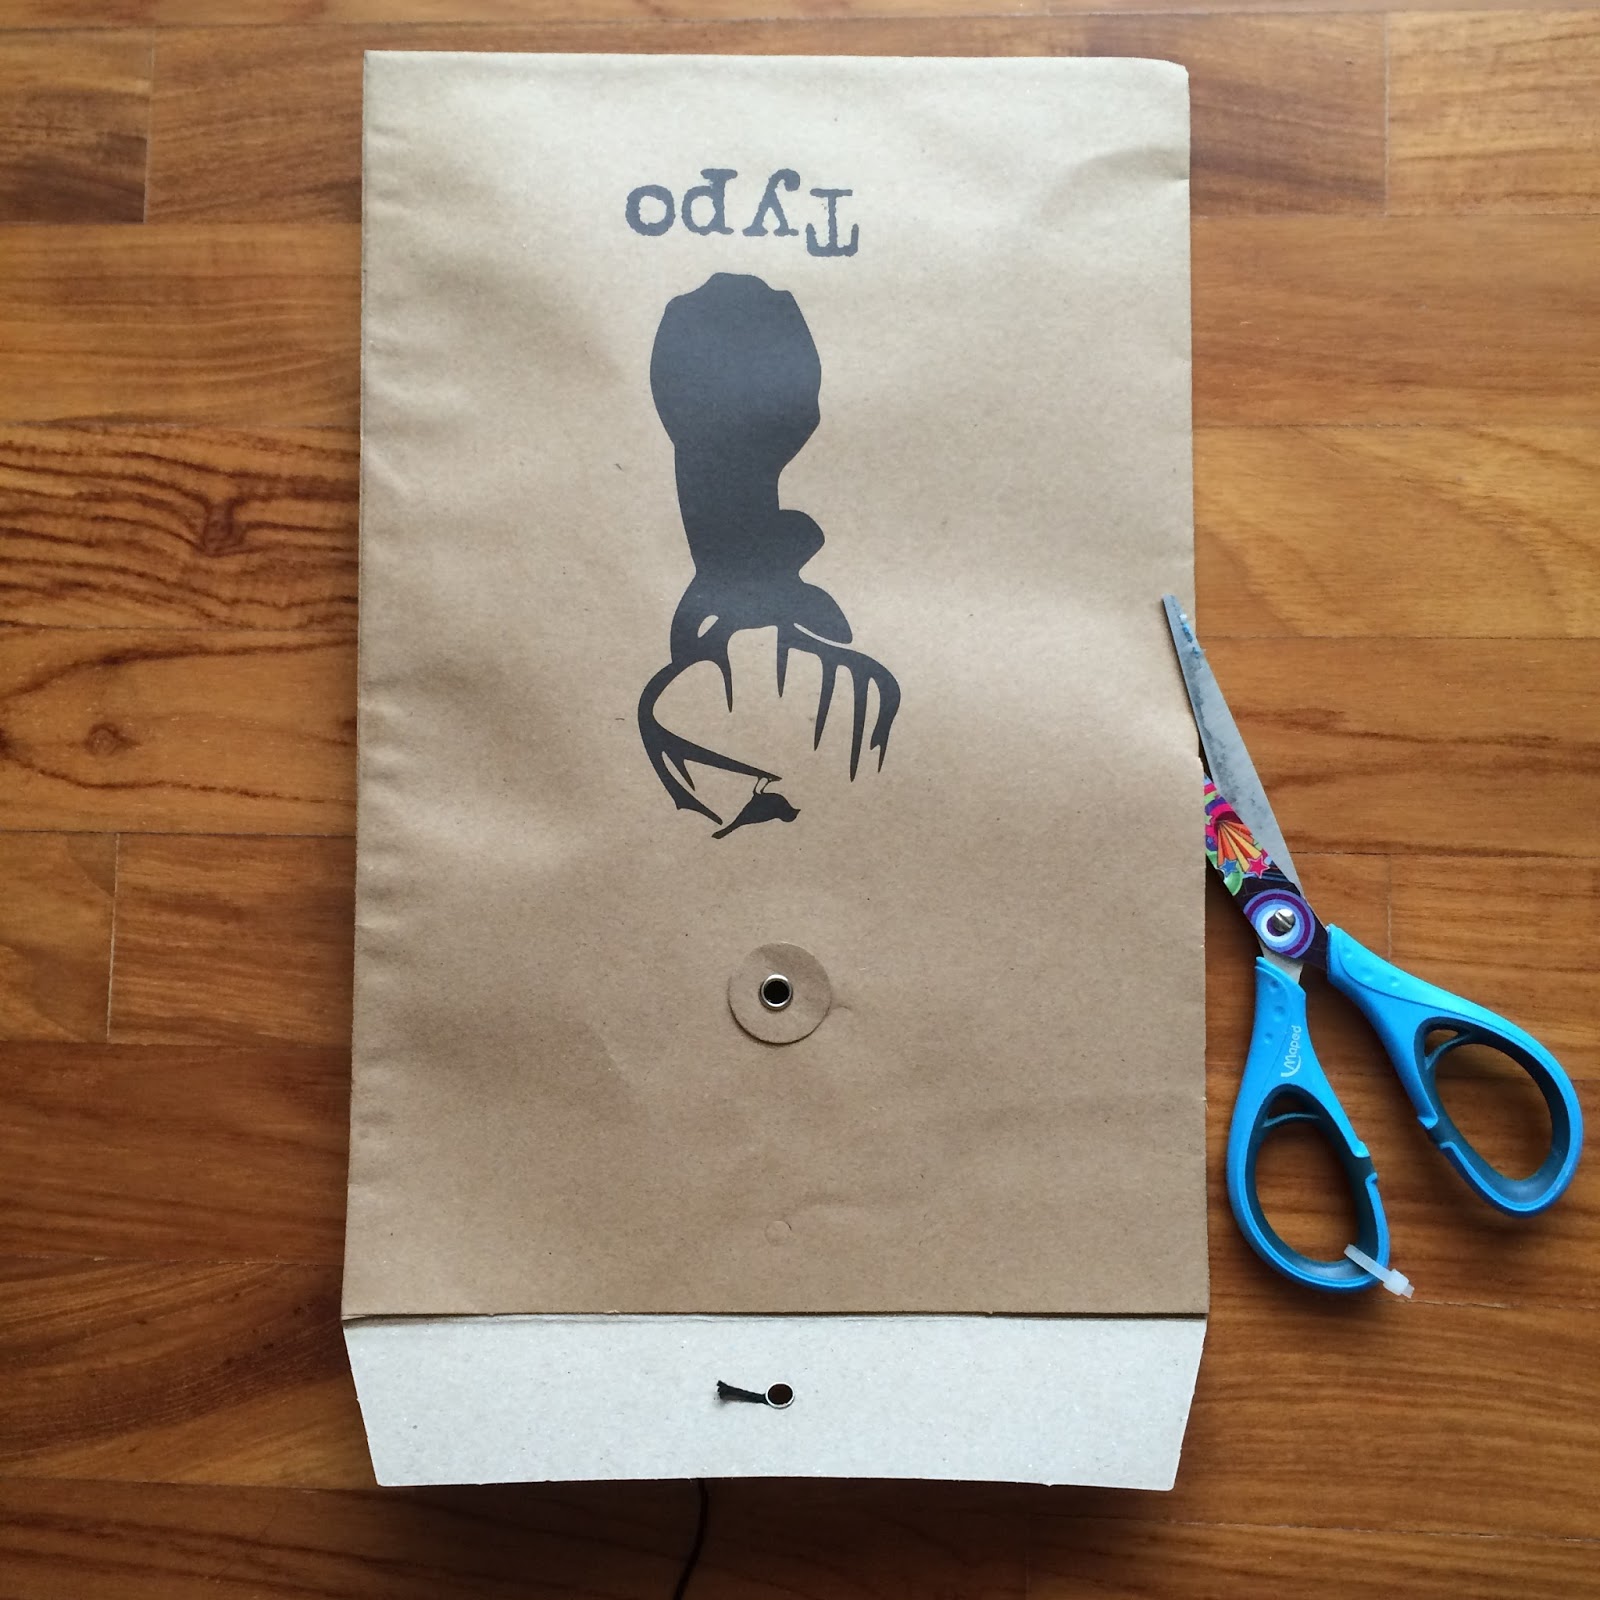
This one I made is closer to a success. I thought of doing a notepad holder because I have a bunch of A6 notepads which are easier to carry around than my larger journal, and I also thought they would look nicer in a holder that I could re-use every time the paper ran out. I have a bunch of paper and thin card and I had a Typo envelope that I liked the look of, so why not?
I finished this in one afternoon (with one loooong break in between for lunch and shopping) and I'm quite happy with the result. It looks nice and because I used more cardboard, it's stiff enough to hold the notepad without bending. Also with the elastic band, I can take out the notepad and change it with a new one when the paper runs out.
And so, the instructions!
Crafting a Notepad Holder
You will need:
Paper for the cover (I used a Typo envelope)
Paper for the inside cover (mine is a striped pattern, from a book I got from Daiso)
Thin cardboard (I used free flyers)
An elastic band (you can buy a packet from Daiso)
Scissors
Glue
Stapler or needle and thread
Instructions:


1. Measure the flyers and cut them to fit your notepad. ( I was lucky because the flyers I chose were just half a inch larger than my notepad, so no cutting here for me ) Then stick them together so that they are as hard as a paperback's cover. ( I used two, but if you have good quality cardboard, you could probably just use one.) Since I used two pieces of different sizes, I also cut the four corners off so I could fold the edges down. I felt this would give the edges extra strength.


Looks great in pictures, but mind you, I did not show you:
- The mess of paper and stationery strewn around me on the floor
- My intense concentration when cutting and measuring and praying that I didn't do something wrongly
- Me having to stop every 10 minutes to position the materials nicely so that I could take a shot for the blog
- My irritated grunts when I found out I had stapled the elastic band wrongly and had to take out the staples
- More grunting when I was done and had to clean up the mess
- The holder doesn't close snugly so to close it, I had to loop an elastic band around it
Still, I do think it looks good. Can't wait to fill this with well-drawn pictures and interesting ideas. ( fingers crossed )
No comments:
Post a Comment