No English? No Problem!

Showing posts with label recycling. Show all posts

Sunday, January 15, 2017

Junk Journals Tutorial 2: Part 1: Free paper is great!

Today's junk journal tutorial makes use of a free notepad I received from some sale or exhibition. ( I totally don't remember anymore, sorry! ) I love to get these because, er, I'm a bit of a paper junkie, but I don't always like the advertising that comes with it. However, it is always easy enough to use the paper to make a journal that you would like and the best thing is, it came free!

This is useful because at times, I come across lovely stiff paper in pamphlets or programme booklets. Although I would just love to make them into journals, I can't, because of all the words on them. So I keep (or hoard) free notepads and notebooks for this reason. 
This is a very easy tutorial to do and even if you have just one free notepad, it provides enough paper to make a number of journals.

The green and white notepad is the one I'm using. It comes from a property website but I don't want to be reminded of that whenever I use it. 

Using Free Paper

You will need:

Tools
Scissors
Bookbinding stapler 
or Stapler and Eraser combo (As written in Tutorial 1a)
Adhesive of your choice (I'm using glue tape which I bought from Daiso)

Materials
One free notebook/notepad
Old brochure (Choose one with hardier paper)
Paper (for cover. I used a page from Frankie magazine with a photo that I liked)

Steps:
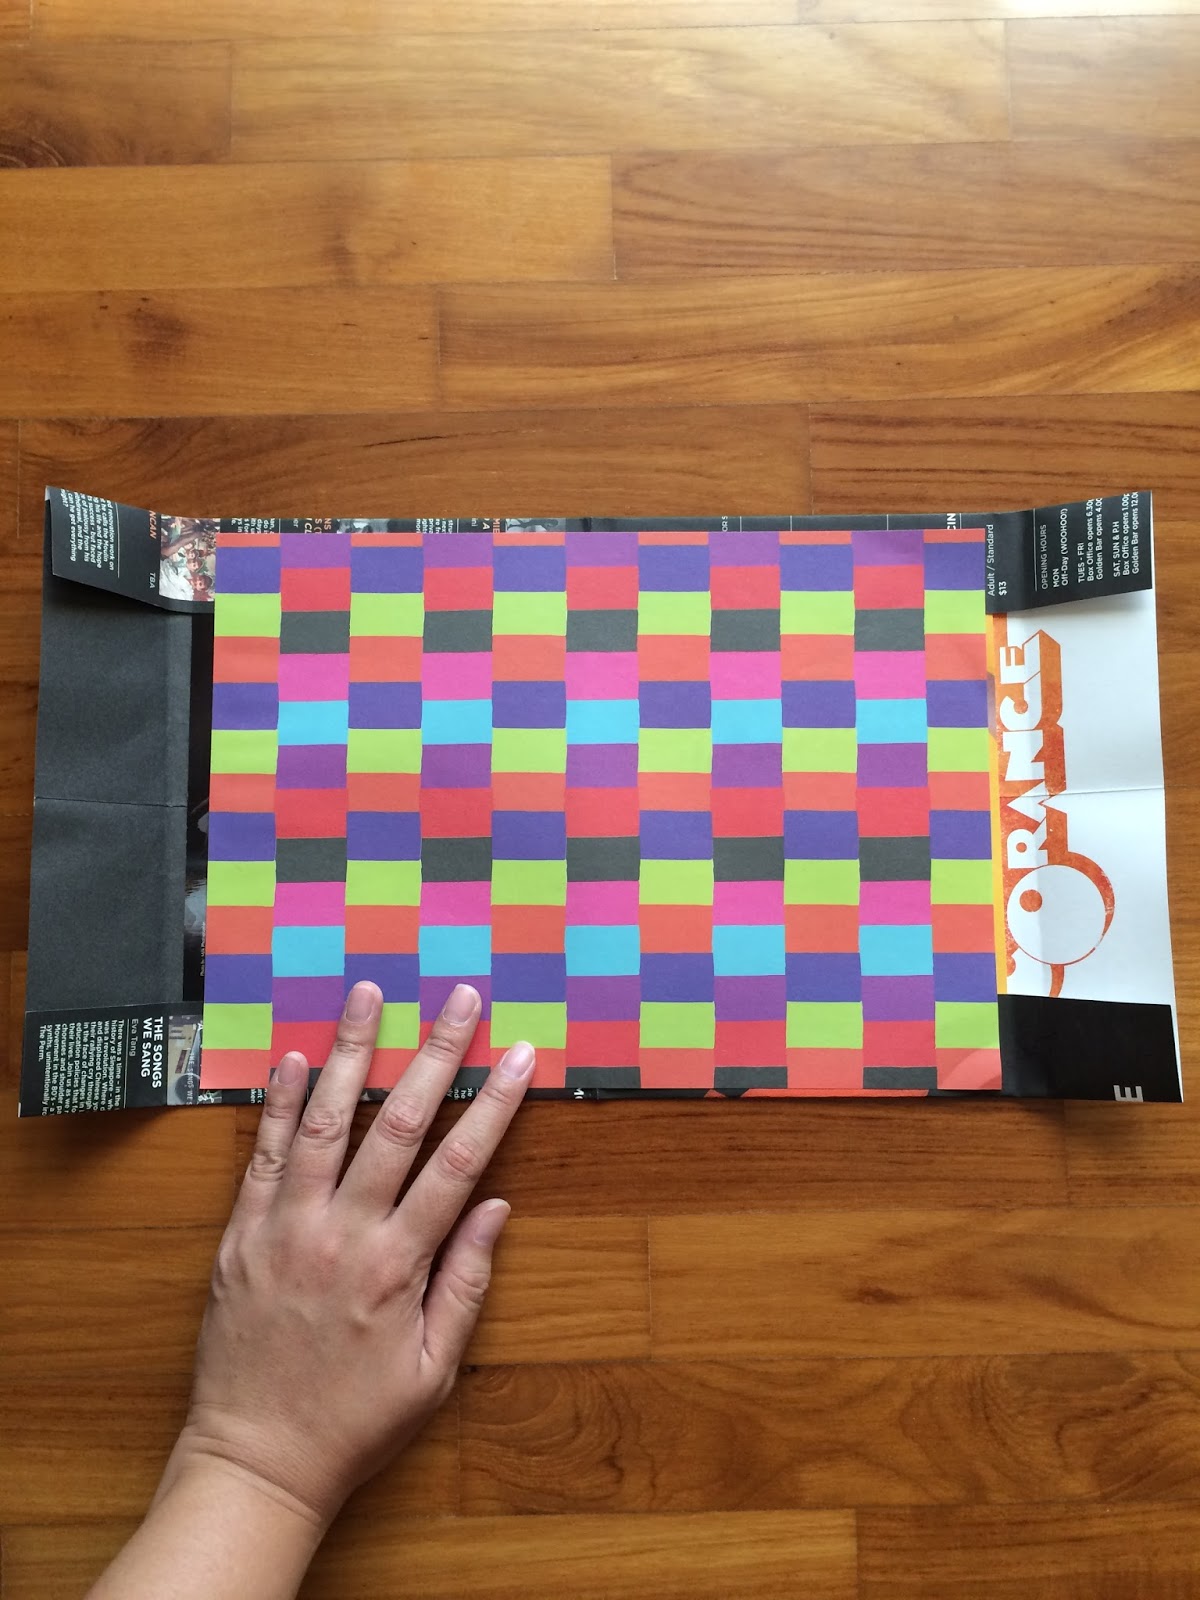
1. Tear out your chosen number of brochure pages. Fold the brochure pages into half. This would form something that looks like a small book, on the left.  

2. Tear out a page from the free notepad and stick it on top of each page. You're done! 

Ok, obviously you would be expecting a bit more than that. Now chances are, like me, your free notepad paper will not fit your brochure paper and you will see some words or pictures sticking out the top. To counter this, I explored a few ways to decorate the pages. If you used a brochure with nice pictures, you probably won't have to read the following (but please do, anyway). But if you used one with boring words like me, then here's some decorating ideas:

(Note: Where possible, I have included links to the companies that produce the materials I used. If I didn't, it means I either bought them cheaply or I have totally forgotten where they came from.) 


Most cheapo method: Use marker pens to colour a design at the top. Here I opted for a simple rainbow design. You can also substitute the marker pens for other art mediums of your choice, like watercolours. 


Washi tape: Stick your favourite washi tape over the uncovered parts. Tape bought from MT tape.


Use a stamp of your choice and stamp it repeatedly. Here I used an awesome one from Typo stationery


Cut scraps of paper from previous scrapping projects and paste them at the top. This paper was from a Flow Book for Paper Lovers while the one below was from a paper pad from Popular Bookstore. You can also use scraps of pictures from magazines or newspapers or brochures. 


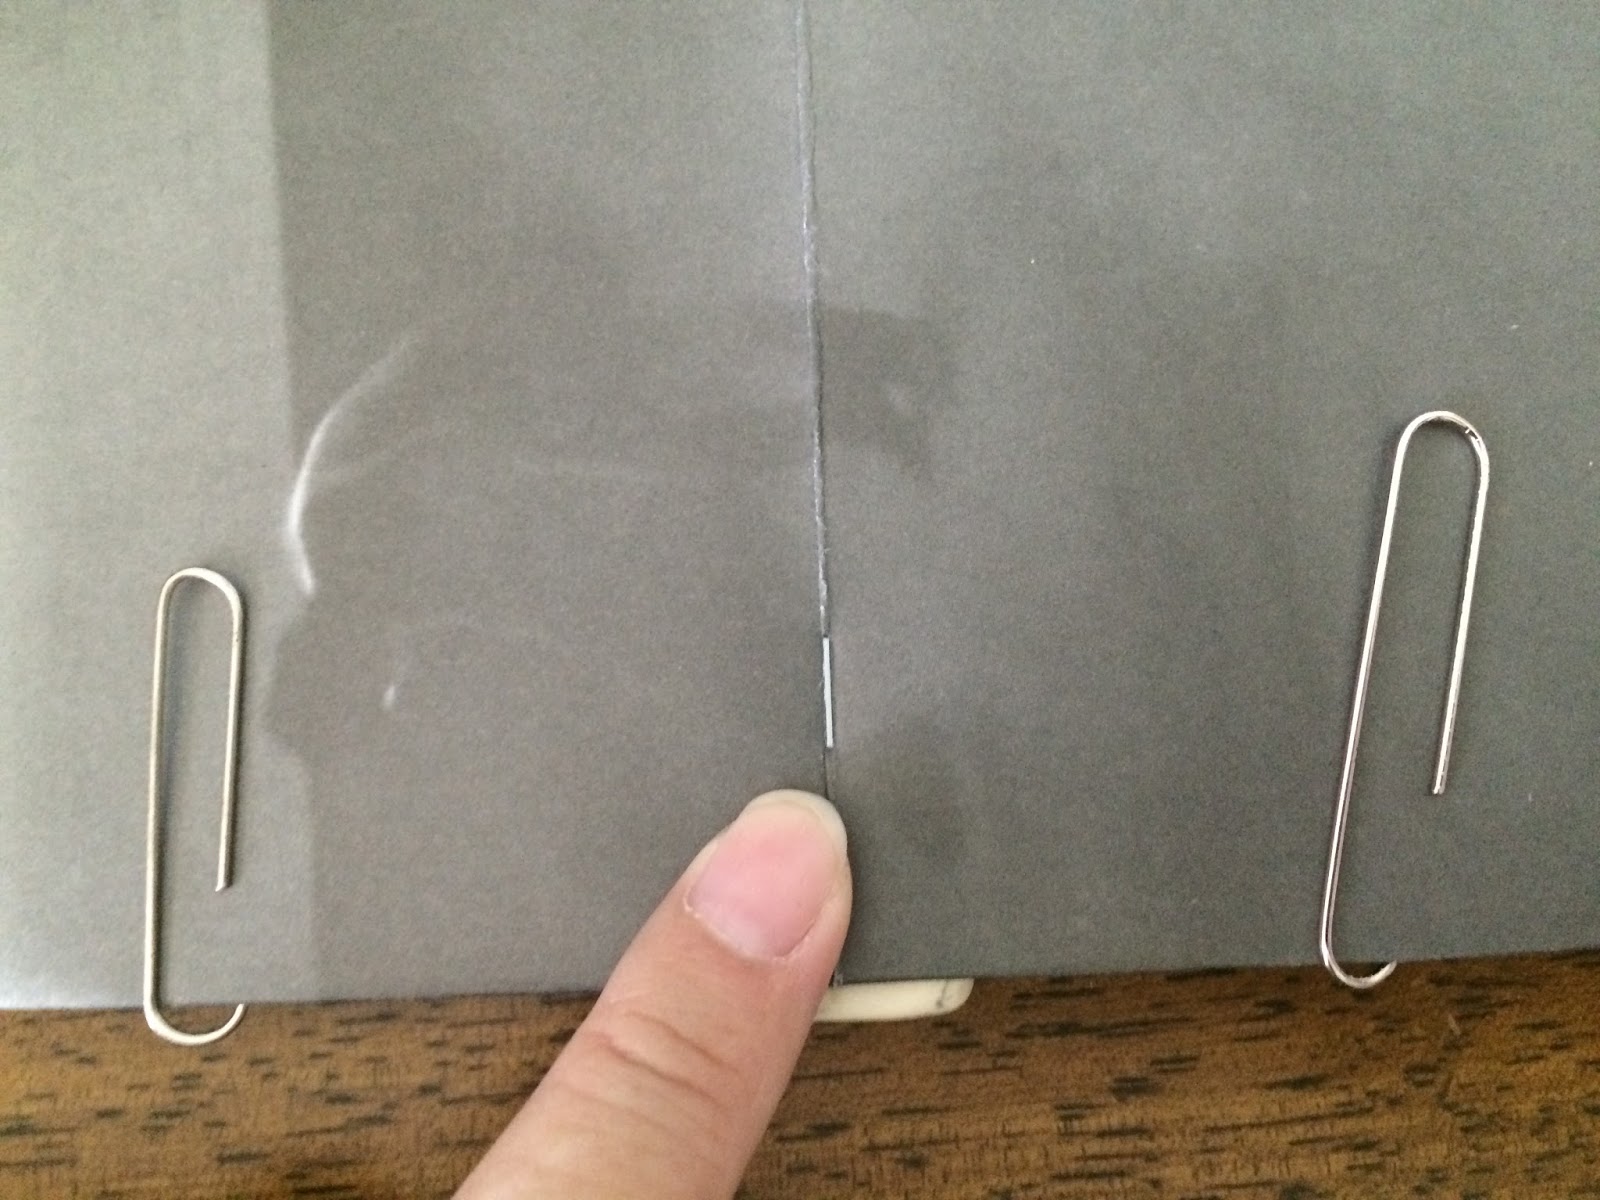
When you are done, staple the pages together using a bookbinding stapler or my alternative stapling method.
When you are done, you will end up with a nice set of stapled pages ready to be journalled in! But nice pages need a nice cover to hold them all together, no? We will cover that in the next tutorial! See you then! 

Friday, December 30, 2016

Junk Journals Tutorial 1a: An alternative to bookbinding staplers

It's been a great break during Christmas, hope everyone had a good time because I'm back with an extension of the previous tutorial!

I realized that for many people, the bookbinding stapler may be difficult to find. Today's tutorial may then be helpful, because I'm going to show you how to achieve the same effect with ordinary stationery you can find anywhere. 

Before I found the stapler, I was experimenting with other methods, eg, using tape, but they didn't produce the nice clean result I wanted. Then one day, I was stapling posters to a notice board and it hit me: I could use this to staple pages together as well!

Tutorial 1a: Rough and Dirty Journal - Alternative Stapling Method

You will need:
- A stapler (Find one which can open, eg the type you would use to staple posters to a wall)
- An eraser
- Paper clips or binder clips (Optional, but I find it much easier to do it with clips)

And here I've also used the following for this tutorial:
- Scissors
- Paper
- Cardboard (for the cover)


Step 1: Get the pages of the journal ready. (Here, I've had to cut the pages to size) Then position the pages on top of the cardboard and fold the edges of the cardboard down to size.

Tip: Leave some cardboard around the edges so that your pages will fit nicely inside the journal and will not stick out.

Tip: Use the handle of your scissors to press the cardboard down and create a neat fold.

Step 2: Prepare the pages and cover for stapling. Open the blank pages to the centre and clip the left and right side pages to the cover with the paper clips. Open the stapler as shown.

Place the eraser directly under the centre fold of the journal. If you can't notice it well in the picture, I'm pointing to the part of the centre fold where the eraser is. 

Place the top part of the stapler so that the pages will be stapled exactly (or as best as you can) on the centre fold. Press the stapler.

If you got it right, the result should look like this from the top. Your pages will now be stapled to the eraser.

Step 3: Do the finishing touches. Flip the journal over and remove the eraser. You should see the staples sticking out. Don't prick yourself!

Use the stapler to press down the staples.

Once you are done, your pages will look like this! (Oops, I didn't quite fold the pages correctly...)

Now repeat on the other side and your journal is done!

Here's what it looks like from the outside:

So there you are! A simple hack that anyone can do with some ordinary stationery and your journals will look like professional zines! Try it today!

Thursday, December 08, 2016

Film Can Pen Holder

I've been a bit on an organizing binge, because 1) the mess on my desk was getting to me and 2) I had too many materials all over the place. That tells me it's time to do some upcycling and make some good out of the stuff that I have!

I had this idea for the pen holder because I have a few small markers which needed a good home and I also had tons of empty film cans from photography. Why not combine the two?

This project is super easy and I can see even small children doing it. It took me less than 10minutes to complete each holder.

Film Can Pen Holder

You will need: 
Empty film can 
Washi tape
Adhesive of your choice ( I used double-sided tape )

Instructions:
  
Step 1: Cover the film can with the washi tape of your choice. Here, you can see I chose two different kinds, one a solid colour and one with holiday scenery on it.

Step 2: Stick your adhesive to the top of the cover of the film can. I used double sided tape because that's what I have, but you can use any adhesive you like.


Step 3: Stick the cover to the bottom of the film can to form the base. Then put your markers inside and admire your craftiness. 

Easy right?? I love this so much because the steps are so easy and yet the results are so cute to look at! Craftier people than me can try the following variations:

- Decorate the can with paint instead of washi tape.
- Make the can taller by cutting the bottom out of one can and then sticking it to another can.
- Cut the can in half and use it to store small items like paper clips.
- Fill the completed film can with uncooked rice or beans, then stick pens into it. 

Those are just some wild ideas, completely untested! Let me know if you tried any of them and whether they worked!

Wednesday, November 30, 2016

Junk Journals

I've been making recycled paper journals, since it's that time of year where we have to move cubicles at work, and inevitably, there are tons of paper we have to throw or recycle. I sometimes feel a bit of a heartache when I have to do this, because I'm a paper junkie and I always felt like there was more I could do with the paper. Also, there were worksheets were I didn't use both sides of the paper and the blank side always held so much... potential. Yes, paper junkie >-<!!! 

Then I had the idea to try making recycled paper journals, or junk journals. Not that I put nothing but junk inside, but to use the paper which would have been junked, to make journals. At least if I managed to get one more use of the paper, I would feel *slightly* better about the environment and also maybe I won't have to buy any more notebooks for the rest of my life! Lastly, I would also be able to exercise some creativity in decorating the notebooks and *finally* depleting my stash of craft paper materials. 

Making the junk journal was easy. I planned a daily journal for November as a trial, then I chose some junk paper and stapled them together. After that, I decorated the pages with the layouts I wanted and finally, I filled in my daily entries.

Here's the result for November: 
(Note: Where possible, I have tried to include the sources for my materials, but unfortunately, I can't remember all of them, so if anyone recognizes them, let me know and I will put the sources in!)

Cover: Flow Book for Paper Lovers

Credits: Kikki.K 3AM notepad and Paperstone.sg to-do list

Credits: Ameba stuff My really busy week memo mousepad

Credits: 3M washi tape, Flow Book for Paper Lovers paper. Calligraphy stickers I bought from a flea stall but unfortunately, lost the lady's contacts -_-!!!

Credits: Paper on left from Daiso, on right from Kikki.k. 

Overall, I am pleased with how the results turned out, but I am also aware that it's not really recycling in the truest sense. I only managed to make such nice layouts because I had the nice paper in my house all along. The next step in this challenge for me, thus, is to make one without nice paper and to start from scratch. 

Still, if you are a paper junkie like me, and you also have a sizable stash of craft paper, this is something easy you can do to use your stash for a worthy cause. If you just have to have nice paper, Daiso sells a good range and for SGD$2, you can buy enough paper for a month. For a year's worth of journal entries, that will cost you around $24, which is cheaper than a Moleskine but you might still get cute diaries cheaper than that, so weigh the costs and decide if it's worth it for you. 

Sunday, July 17, 2016

Refillable Junk Mail Journal

I have a love of paper and journals and I can't deny it. Yet, I'm growing more hesitant to buy journals, no matter how beautiful they are. Firstly, I can't fill them all fast enough. Secondly, there seems to be so much paper floating about that to contribute to that seems wrong somehow. Every week I get sent letters from insurance companies, bank statements that I only need to read once and other mail congratulating me on receiving this wonderful opportunity to...... you get the idea. 

So why not make something that satisfies the need to craft, makes use of all that junk mail and also land you with a nice new journal at the same time? Have I got your attention yet? Hahaha...

This journal is more like a small holder. You can fold A4 letters in half and slide them into the flaps to form the notebook. I have made a version of this journal with sturdy envelope packaging, but this time I started with brochures and pamphlets. I used patterned endpaper for the inside covers that I bought from Daiso, part of my 'stock'. It is easy to make if you can understand my crummy instructions... -_-!!!

Refillable Journal

You will need:
- One large brochure (for the front and back cover)
- At least 2 pieces of card (I used theatre flyers)
- A piece of paper for the inside cover
- Scissors
- Glue
- Stickers to decorate (optional)

Steps
1. 
Place a piece of A4 junk mail on top of the brochure. Fold the long edges of the brochure inwards to fit the junk mail. Leave around 2-3mm allowance so that you can put more junk mail inside. Take note of which side you will use for the front cover, especially if there's a particular picture you want. 

2. 
Fold the junk mail and brochure in half. You will now have a centre fold for the brochure and the junk mail. Now fold the short edges inwards. Again, leave 2-3mm allowance for more paper in the future. 

3. 
Remove the junk mail and paste the pieces of card inside. This is to strengthen the covers. Leave a space in between the cards for the spine. Your cover will then look like the picture on the right. 

3. 
Paste your patterned paper on top of the cards. I used my existing stock of paper but if you want to more eco-friendly, use another brochure. 

4. This part is where you will be making the pocket for the paper. Bear with me, because this could be a bit tricky for me to explain, but basically, you are making a pocket to slide in papers. Use the side where your back cover will be. 

First, fold the short edges over the card. Then make another fold around 5mm away. Unfold the brochure and make 2 cuts where you folded it to the edge of the journal. It should look like the picture above, with one skinny bit and one fat bit to the left. 

Take the fat bit and unfold it. Then make another fold 5mm away. You should see 2 fold lines like what I have.
Fold it down so it looks like a little pocket. Apply glue to the flap, where my finger is pointing. Do the same to the other side.

5. 
Once you have applied glue to both flaps, fold them down. You should now have something like a little folder, and when you close it, it should look like the pictures below. 


6. You are nearly done! Slide in some paper like what I have done and make a victory sign! When you receive more junk mail, just slide it in. 
 Decorate with stickers if you fill the need.

And now, you can learn from my mistakes/observations...

What I learned:
- Leave more paper on the side to make a big pocket, especially if you intend to put more papers in or if you receive a lot of mail.
- You can also keep the papers in place by looping a rubber band or piece of string along the spine. I didn't because I was afraid it would crush it. 
- You can also use letters with text. Apply gesso or white acrylic or paste blank sides on top to reuse them.
- Don't, for the love of administration, use important documents like current bank statements or policy statements or your birth certificate. 

Have fun, people! If you did try this, post the photos of your journals in the comments!

Saturday, April 23, 2016

Earth Day

At work this week, there was a presentation about waste minimization. Among the facts, one that stood out for me was about the amount of food waste incurred. If we went on throwing away food the way we did, our landfill island, Pulau Semakau will be filled within our lifetime. Ok, now I'm a bit more guilty about throwing away that leek that was going bad...

However, as I went about my day, I also realised just how much trash I threw as an individual consumer. I bought a drink, trashed the drink packet. I received junk mail, trashed it. I bought toiletries, trashed the packaging. I marked some worksheets done badly, trashed... just kidding. ;p

My house is full of incidental trash. This includes trash that I created in consuming another good, sometimes a necessity. For example, I bought shampoo, which resulted in a plastic bottle becoming trash. I bought sanitary napkins, resulting in the packaging becoming plastic trash. Plastic is also difficult for me to upcycle. With varying success, I can turn paper into various things but plastic is difficult to bend and mold into shape.

Incidental trash also comes in other forms that comes to me unasked for. I might receive gifts from a friend. Sometimes, I can upcycle the packaging, sometimes I cannot. I forget to bring recycle bags to the supermarket and I end up with more plastic bags than I can handle. Junk mail comes, totally unasked for. I receive free gifts in the forms of stationery sometimes at work and I now have enough notebooks to record my memoirs and maybe those of my future children. Sometimes, these free gifts come in plastic packaging, you guessed it - Trash.

I try to make my small way about recycling and reusing. I bring lunch to work in my electric lunchbox instead of disposable containers. I refuse plastic bags. I try to salvage paper products into other stuff. But yet I feel like the onslaught continues. 

Which is why I salute people like Lauren Singer. She is a 23 year old singer in NYC whose trash in 4 months equals to the volume of a jam jar! I found her in a magazine which led me to her blog Trash is for Tossers. (I do doubt the true impact of her actions, though, because while you may not produce that much trash personally, the pursuit of your career may produce more trash than you think. But to each his own.) 

When I read her efforts, I look around my overstuffed bookshelf and I feel very guilty. Maybe I shouldn't have bought that last bout of stationery......

She does make a point that I can resonate with. That we should evaluate our lives and think of how much and what we really need to be happy with. It brought me back to the days of holiday. I had the time to cook at home, saving on outside meals. I borrowed books from the library, I did art at home, I refused to add more art materials and instead raided my existing supplies. I decided not to throw away magazines but sold them to others, giving them another lease of life and earning some money as well.

That's when I realised that, to be truly contented, everything I needed was already around me. I had to see it for myself and tell myself to do it, rather than thinking I always needed to buy something new.

Realization is the first step. Action is the second and hardest step to do. Again, though, start easy, start small and remember that even the smallest actions do more good than doing nothing at all.