I realized that for many people, the bookbinding stapler may be difficult to find. Today's tutorial may then be helpful, because I'm going to show you how to achieve the same effect with ordinary stationery you can find anywhere.
Before I found the stapler, I was experimenting with other methods, eg, using tape, but they didn't produce the nice clean result I wanted. Then one day, I was stapling posters to a notice board and it hit me: I could use this to staple pages together as well!
Tutorial 1a: Rough and Dirty Journal - Alternative Stapling Method
 You will need:
- A stapler (Find one which can open, eg the type you would use to staple posters to a wall)
- An eraser
- Paper clips or binder clips (Optional, but I find it much easier to do it with clips)
And here I've also used the following for this tutorial:
- Scissors
- Paper
- Cardboard (for the cover)
Step 1: Get the pages of the journal ready. (Here, I've had to cut the pages to size) Then position the pages on top of the cardboard and fold the edges of the cardboard down to size.


Tip: Leave some cardboard around the edges so that your pages will fit nicely inside the journal and will not stick out.

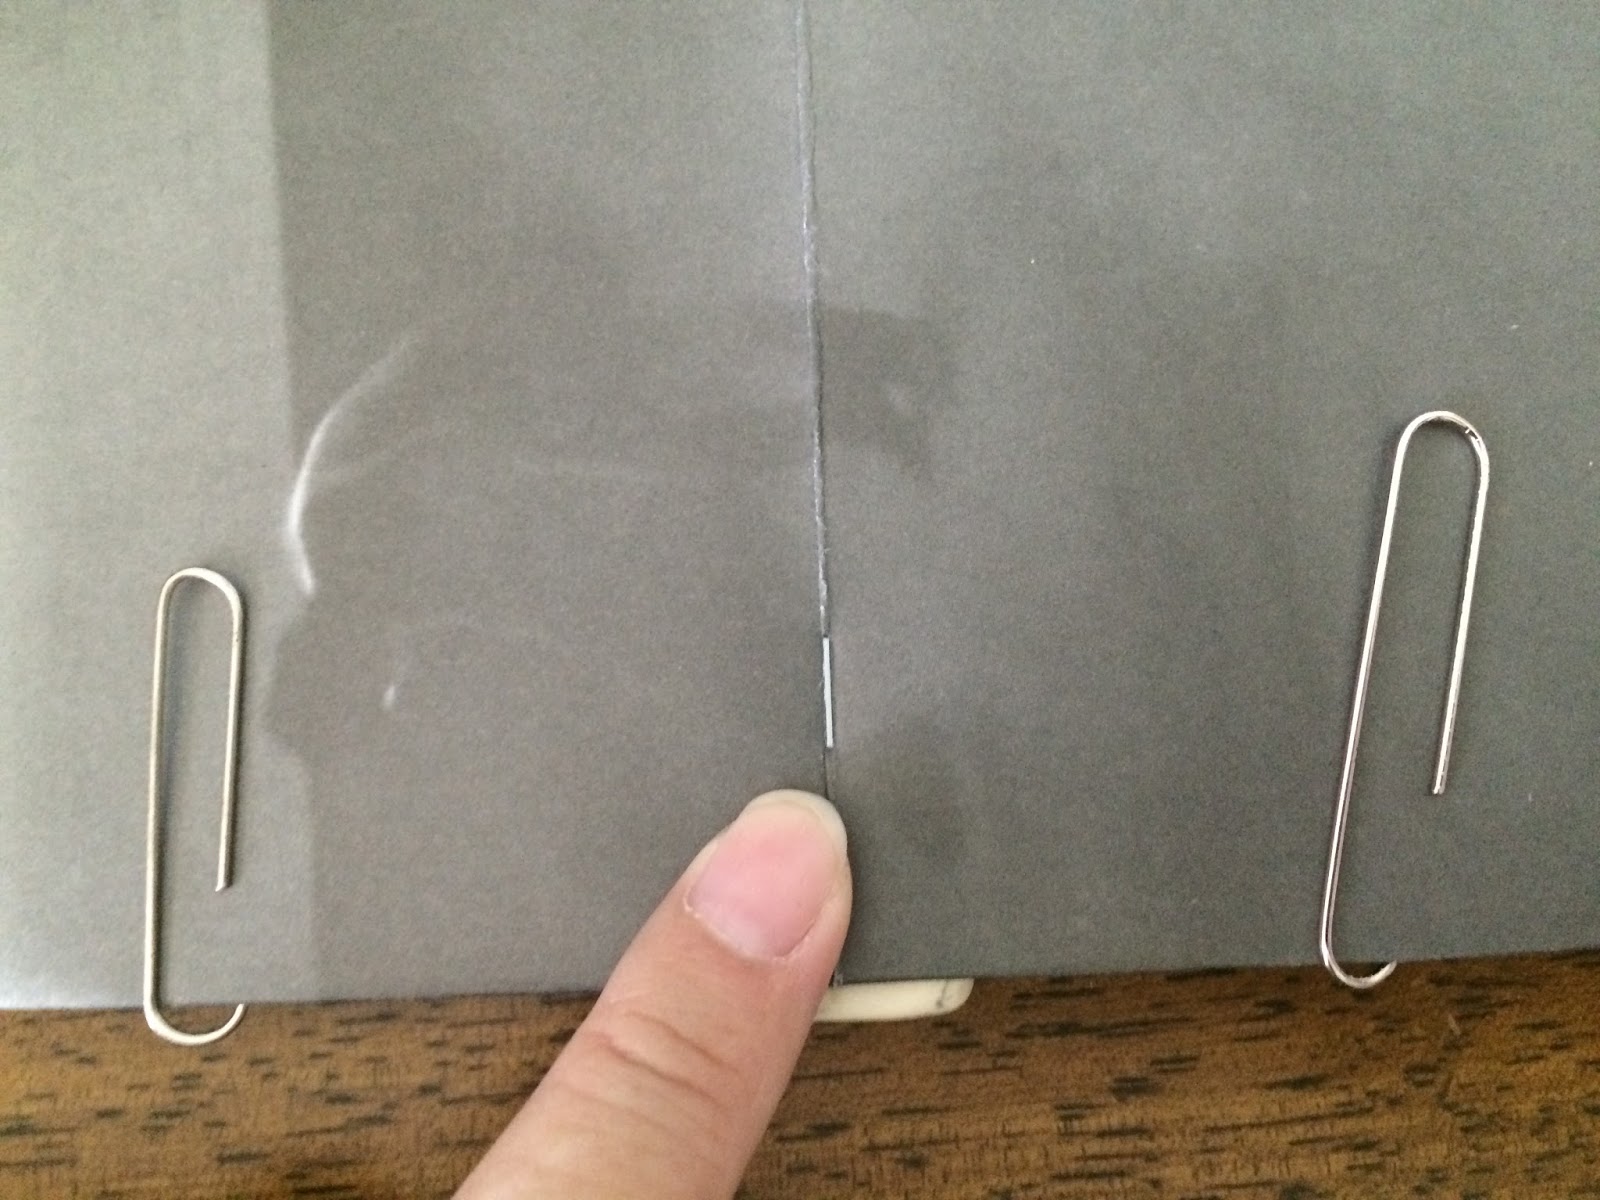
Step 2: Prepare the pages and cover for stapling. Open the blank pages to the centre and clip the left and right side pages to the cover with the paper clips. Open the stapler as shown.


Step 3: Do the finishing touches. Flip the journal over and remove the eraser. You should see the staples sticking out. Don't prick yourself!

Use the stapler to press down the staples.

Once you are done, your pages will look like this! (Oops, I didn't quite fold the pages correctly...)

Now repeat on the other side and your journal is done!

Here's what it looks like from the outside:

So there you are! A simple hack that anyone can do with some ordinary stationery and your journals will look like professional zines! Try it today!
No comments:
Post a Comment