No English? No Problem!

Showing posts with label deskcalendar. Show all posts

Wednesday, January 04, 2017

Starting Afresh... Over the old memories...

Those who have been reading my blog know that from the last entry, I had decided to reuse one of my old journals and I had torn out the pages with bad memories in a kind of purging exercise. 

I didn't manage to do this with all the pages I wanted, though. There were some pages which had better memories on the other side, or other pages that had nice journal entries that I wanted to keep. For the sake of those better ones, I kept those 'dark' pages in the journal.

Yet, I didn't want to keep reminding myself of them every time I turned the pages. So I hit on a plan with an old calendar. 

I had bought this calendar from Workman Publishing in early 2016.


It's a beautiful calendar with an inspiring message for every day of the week and for months, I kept it on my desk, flipping to see the next message. 

Well, obviously the calendar I have is out of date by now, but there were many pieces of artwork inside that I liked very much. So I thought of doing some art journal pages with them over the 'dark' pages in my journal. Why not? Now the pages with the stuff that was better forgotten would be papered over with some better-looking art. 

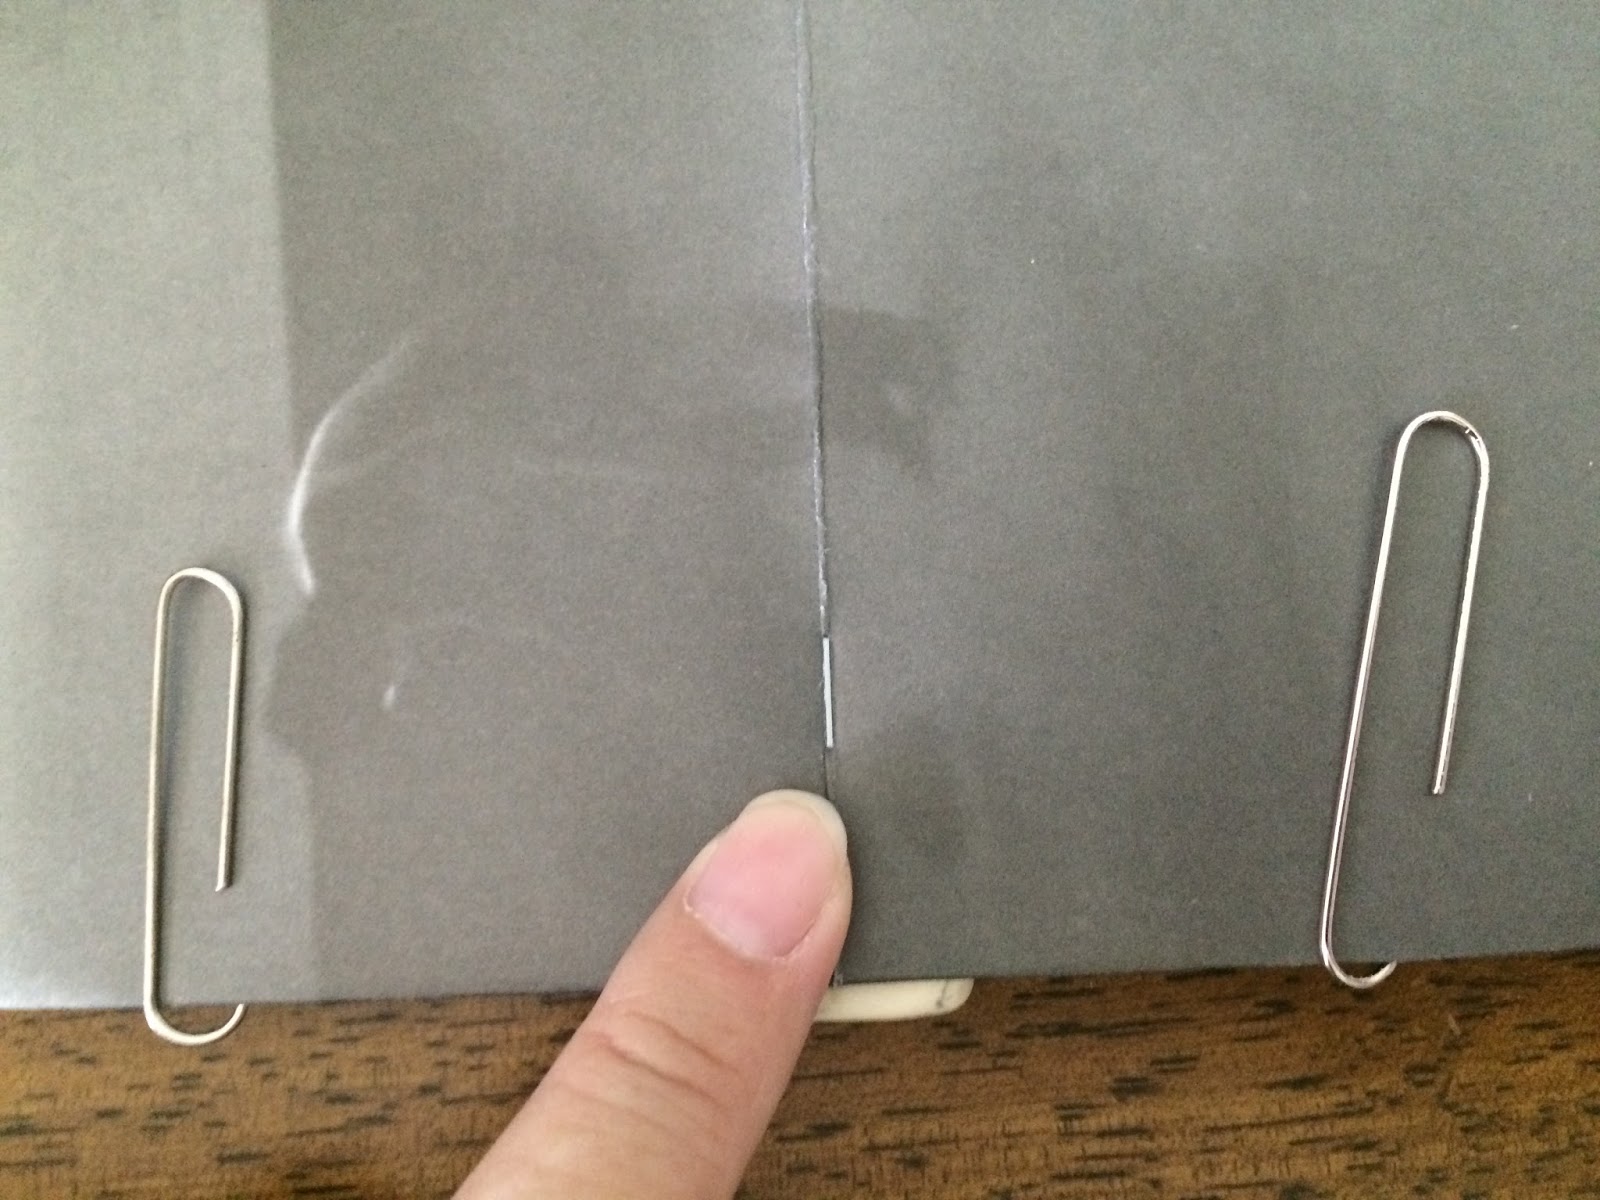
And so the first page I did in this style is as seen below:

(That's my weekly journal on the right, kindly ignore 😅)

I guess you could call it cheap craft therapy, a way to be creative, forget the bad and replace them with better new messages for the future. It's easy enough to do with the calendar but if you don't, there are tons of inspirational messages being shared freely on Facebook or Pinterest. You can always print one out and paste it down and decorate it with washi tape or the embellishments of your choice. 

And trust me, definitely cheaper than therapy. 

Credits:
Workman Publishing prints other calendars besides this one and they also have a selection of books too. You can check them out at this handy link here.

Friday, December 30, 2016

Junk Journals Tutorial 1a: An alternative to bookbinding staplers

It's been a great break during Christmas, hope everyone had a good time because I'm back with an extension of the previous tutorial!

I realized that for many people, the bookbinding stapler may be difficult to find. Today's tutorial may then be helpful, because I'm going to show you how to achieve the same effect with ordinary stationery you can find anywhere. 

Before I found the stapler, I was experimenting with other methods, eg, using tape, but they didn't produce the nice clean result I wanted. Then one day, I was stapling posters to a notice board and it hit me: I could use this to staple pages together as well!

Tutorial 1a: Rough and Dirty Journal - Alternative Stapling Method

You will need:
- A stapler (Find one which can open, eg the type you would use to staple posters to a wall)
- An eraser
- Paper clips or binder clips (Optional, but I find it much easier to do it with clips)

And here I've also used the following for this tutorial:
- Scissors
- Paper
- Cardboard (for the cover)


Step 1: Get the pages of the journal ready. (Here, I've had to cut the pages to size) Then position the pages on top of the cardboard and fold the edges of the cardboard down to size.

Tip: Leave some cardboard around the edges so that your pages will fit nicely inside the journal and will not stick out.

Tip: Use the handle of your scissors to press the cardboard down and create a neat fold.

Step 2: Prepare the pages and cover for stapling. Open the blank pages to the centre and clip the left and right side pages to the cover with the paper clips. Open the stapler as shown.

Place the eraser directly under the centre fold of the journal. If you can't notice it well in the picture, I'm pointing to the part of the centre fold where the eraser is. 

Place the top part of the stapler so that the pages will be stapled exactly (or as best as you can) on the centre fold. Press the stapler.

If you got it right, the result should look like this from the top. Your pages will now be stapled to the eraser.

Step 3: Do the finishing touches. Flip the journal over and remove the eraser. You should see the staples sticking out. Don't prick yourself!

Use the stapler to press down the staples.

Once you are done, your pages will look like this! (Oops, I didn't quite fold the pages correctly...)

Now repeat on the other side and your journal is done!

Here's what it looks like from the outside:

So there you are! A simple hack that anyone can do with some ordinary stationery and your journals will look like professional zines! Try it today!